Drawing & editing on the map
When to draw
Section titled “When to draw”Drawing is the right path when:
- You have a small number of zones (one to maybe a dozen) that don’t exist in any public dataset.
- You want to define an internal study area that follows your group’s conventions.
- You’re iterating on an experimental boundary and don’t want to round-trip through QGIS or shapefiles.
For dozens of zones from an authoritative dataset (DFO, NOAA), Importing is much faster.
Where the tools live
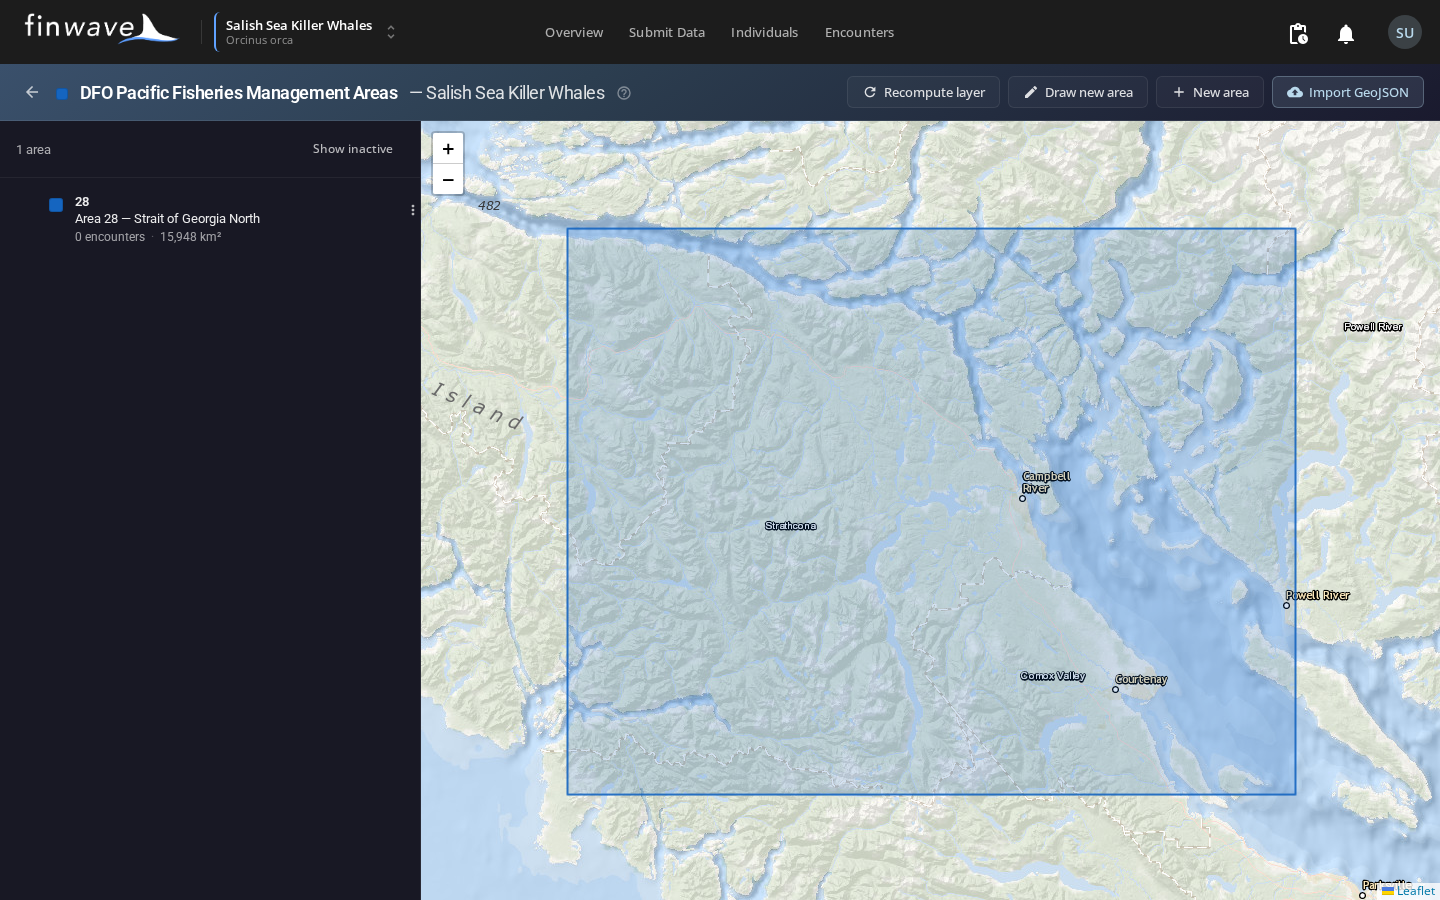
Section titled “Where the tools live”Open your population’s administration page → Management Areas in the sidebar → click a layer’s name (or its Manage areas button). You’re now on the per-layer canvas page: a list of areas on the left, a map on the right.
The toolbar at the top of the page has three relevant buttons (when no edit is in progress):
- Draw new area — enters polygon-draw mode on the map.
- + New area — opens the Create dialog without drawing first; you’ll paste GeoJSON for the geometry.
- Import GeoJSON — bulk import from a file (see Importing).
Drawing a new polygon
Section titled “Drawing a new polygon”- Click Draw new area. The toolbar swaps to a red Cancel drawing button.
- On the map, click each corner of your polygon in order. Each click drops a vertex.
- Click the first vertex again (or double-click anywhere) to close the polygon.
- The Create dialog opens with the geometry pre-filled.
- Fill in Code, Name, optionally Description / Color / Parent area, and click Create.
The polygon appears on the map in its layer’s color. An assignment recompute fires automatically — encounters whose GPS now falls inside this polygon get tagged.
You can hit Cancel drawing at any time before closing the polygon to discard the in-progress shape.
Editing an existing polygon’s vertices
Section titled “Editing an existing polygon’s vertices”- In the area list (left sidebar), find the area you want to reshape.
- Click its
⋮menu → Edit geometry. - The toolbar swaps to an amber “Editing geometry” banner with Cancel and Save geometry buttons.
- The polygon now shows draggable handles at every vertex, plus midpoint markers between them. Drag a vertex to move it; drag a midpoint to insert a new vertex there.
- When you’re happy, click Save geometry. The polygon is updated and an assignment recompute fires.
- Cancel discards the in-flight edit and restores the polygon to whatever was on disk.
You can only edit one polygon at a time. The list-row menu’s Edit-geometry option is disabled while another edit (or a draw) is in progress.
Editing the metadata (no geometry change)
Section titled “Editing the metadata (no geometry change)”For everything that isn’t the polygon — code, name, color, parent area, active flag — use the area’s ⋮ menu → Edit metadata. The dialog leaves geometry alone and is faster than going through draw/save.
The Parent area dropdown is filtered to other areas in this same layer, with self and any descendants excluded — you can’t accidentally make a cycle.
Pasting raw GeoJSON for surgical changes
Section titled “Pasting raw GeoJSON for surgical changes”The Create dialog (opened by + New area) has a Geometry textarea where you can paste a Polygon or MultiPolygon GeoJSON object directly. Use this when:
- You have geometry from another tool (QGIS, mapshaper, custom script) and want it without re-drawing.
- You want to base a new polygon on an existing one — go to the canvas, hit Edit geometry on the source, copy the GeoJSON from the API response (use the browser dev tools), make your tweak in a text editor, paste into Create.
Geometry must be valid (no self-intersections), be Polygon or MultiPolygon, and use WGS84 coordinates. The dialog rejects invalid input with a clear error.
Map controls
Section titled “Map controls”- Zoom — mouse wheel, or
+/–buttons in the corner. Zoom range is2to19. - Pan — click and drag.
- Click a polygon — selects that area in the sidebar list (and vice versa).
The basemap is the same one used on the encounter map view — ArcGIS World Ocean Base for low zoom, World Imagery for high zoom.