Uploading via Azure Storage Explorer
This guide is for contributors who received a SAS link from finwave by email and need to upload files into our Azure blob container. You do not need an Azure account, and you do not need to install the finwave desktop app — only Microsoft’s free Azure Storage Explorer tool.
What you’ll need
Section titled “What you’ll need”- A computer running Windows, macOS, or Linux
- A working internet connection
- The SAS URL we sent you — it looks like a long web address ending in
?sv=…&sig=…
1. Download Azure Storage Explorer
Section titled “1. Download Azure Storage Explorer”- Open your web browser.
- Either go directly to the Azure Storage Explorer download page, or search for Azure Storage Explorer download and click the official Microsoft result.
- On the download page, choose the installer for your operating system:
- Windows — usually a
.exefile - macOS — usually a
.dmgfile - Linux — a package or
.tar.gzarchive
- Windows — usually a
2. Install Azure Storage Explorer
Section titled “2. Install Azure Storage Explorer”Windows
Section titled “Windows”- Locate the downloaded
.exefile (often in your Downloads folder). - Double-click it.
- If Windows shows a security prompt, click Run or Yes.
- Follow the steps in the installer:
- Accept the license agreement.
- Use the default installation location (recommended).
- Click Install.
- When finished, click Finish and (optionally) leave Launch Azure Storage Explorer checked.
- Open your Downloads folder.
- Double-click the downloaded
.dmgfile. - A window will appear with the Azure Storage Explorer icon.
- Drag the Azure Storage Explorer icon into the Applications folder shortcut.
- Open Applications and double-click Azure Storage Explorer.
- If macOS shows a security prompt (“Are you sure you want to open this app?”), click Open.
- Extract the downloaded archive or install via the package appropriate for your distribution.
- Run Azure Storage Explorer according to the instructions for your system.
If you’re on Linux and run into issues, let us know which distro you’re using.
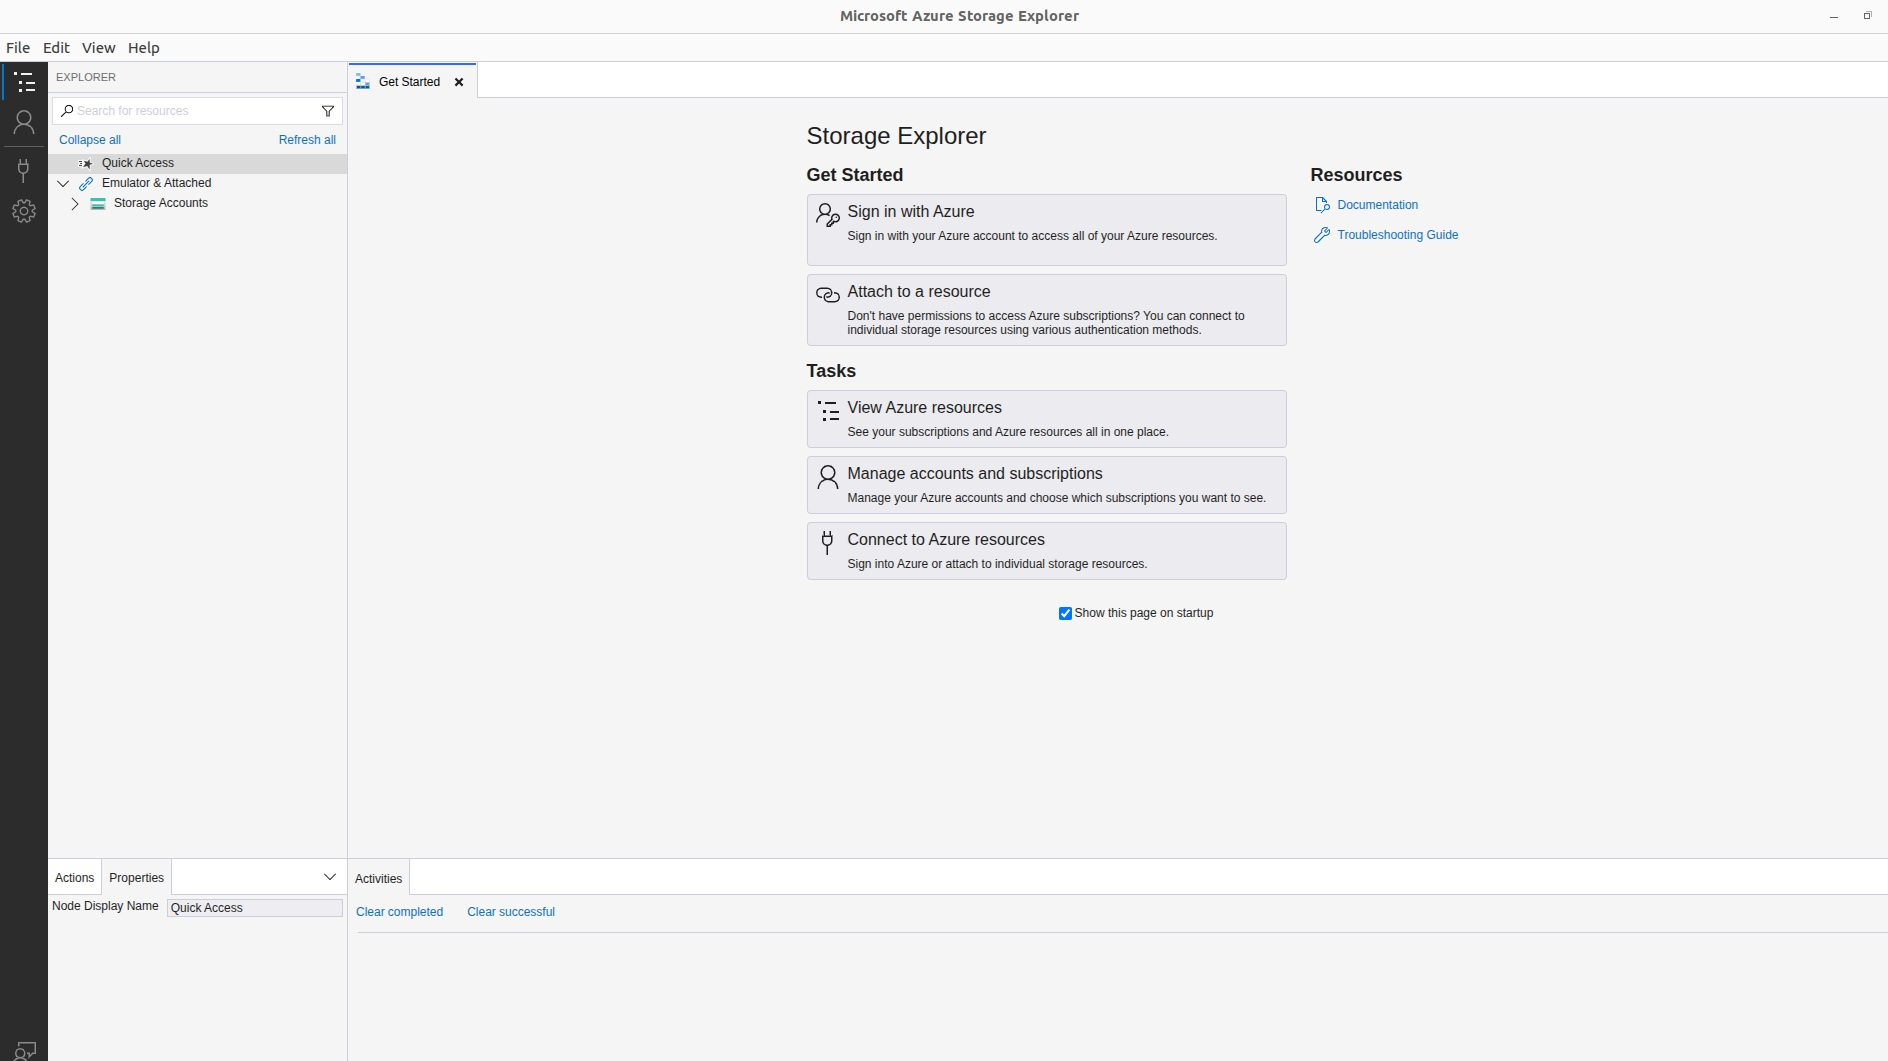
3. First launch
Section titled “3. First launch”Starting Azure Storage Explorer
Section titled “Starting Azure Storage Explorer”- Windows — open the Start Menu, type
Storage Explorer, and press Enter. - macOS — open Applications and double-click Azure Storage Explorer.
Wait a moment for it to start up.
If a window appears asking you to sign in to Azure, you can close or cancel that. You do not need an Azure account to upload using the SAS link.
If you’re asked to install .NET (Windows only)
Section titled “If you’re asked to install .NET (Windows only)”On some Windows systems, Azure Storage Explorer may show a message such as:
- ”.NET Desktop Runtime is required”
- ”.NET runtime is missing”
- Or similar wording
If you see something like this:
- Don’t panic — this is normal on some machines.
- The message will usually include a link to download the required .NET Desktop Runtime from Microsoft.
- Click that link, or in your browser search for:
Download .NET Desktop Runtime. - On the Microsoft page, choose the latest supported .NET Desktop Runtime version they recommend. Make sure you pick the installer that matches your system (usually x64 for most modern Windows machines).
- Download the installer and run it: double-click the
.exe, then follow the prompts (Next / Install / Finish). - Once the .NET Desktop Runtime is installed, close Azure Storage Explorer if it’s still open and re-open it from the Start Menu.
After this, Azure Storage Explorer should launch without complaining about .NET.
4. Get the SAS URL ready
Section titled “4. Get the SAS URL ready”We will send you a SAS URL for a specific blob container. It will look like a long link, e.g.:
https://<account>.blob.core.windows.net/<container>?sv=...&se=...&sp=...&sig=...- Open the email or message where we sent you this link.
- Select the entire link.
- Copy it:
- Windows —
Ctrl + C - macOS —
Cmd + C
- Windows —
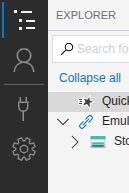
5. Attach the container using the SAS URL
Section titled “5. Attach the container using the SAS URL”In Azure Storage Explorer, look at the left-hand panel (the tree view). At the top of that panel, click the plug icon — the “Add” or “Connect” button. It may be labelled “Add an account” or “Add resource”.
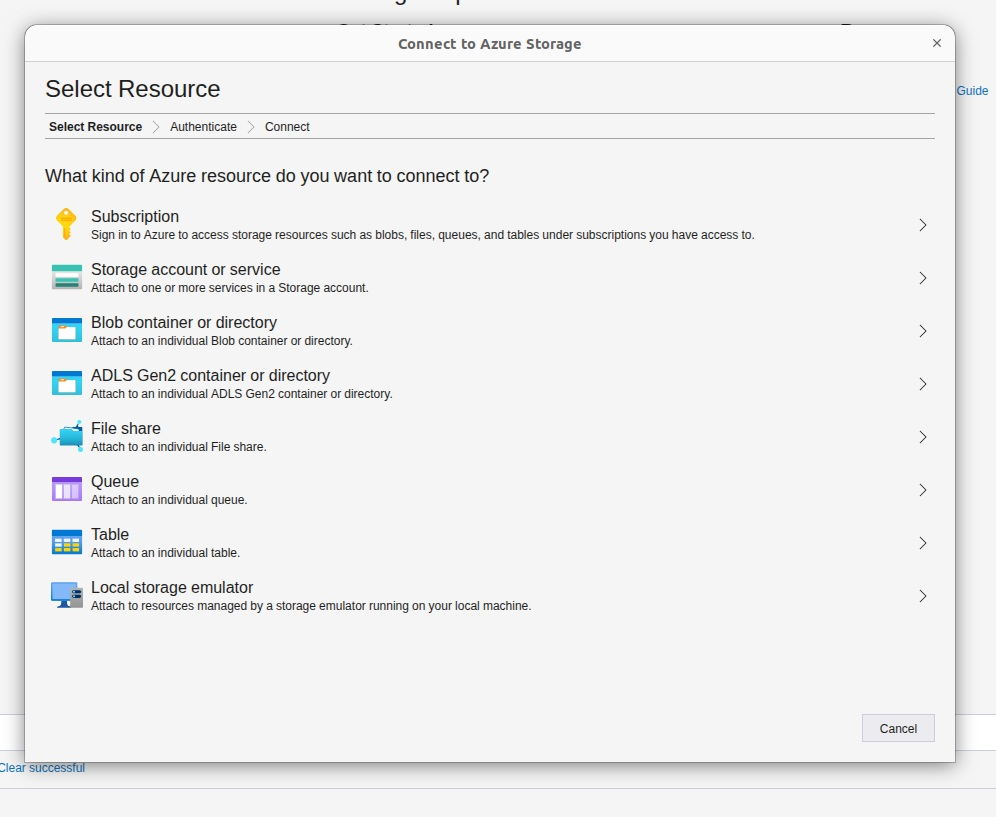
A Connect window will open with several options. Choose Blob container (or “Storage account or service → Blob container”).
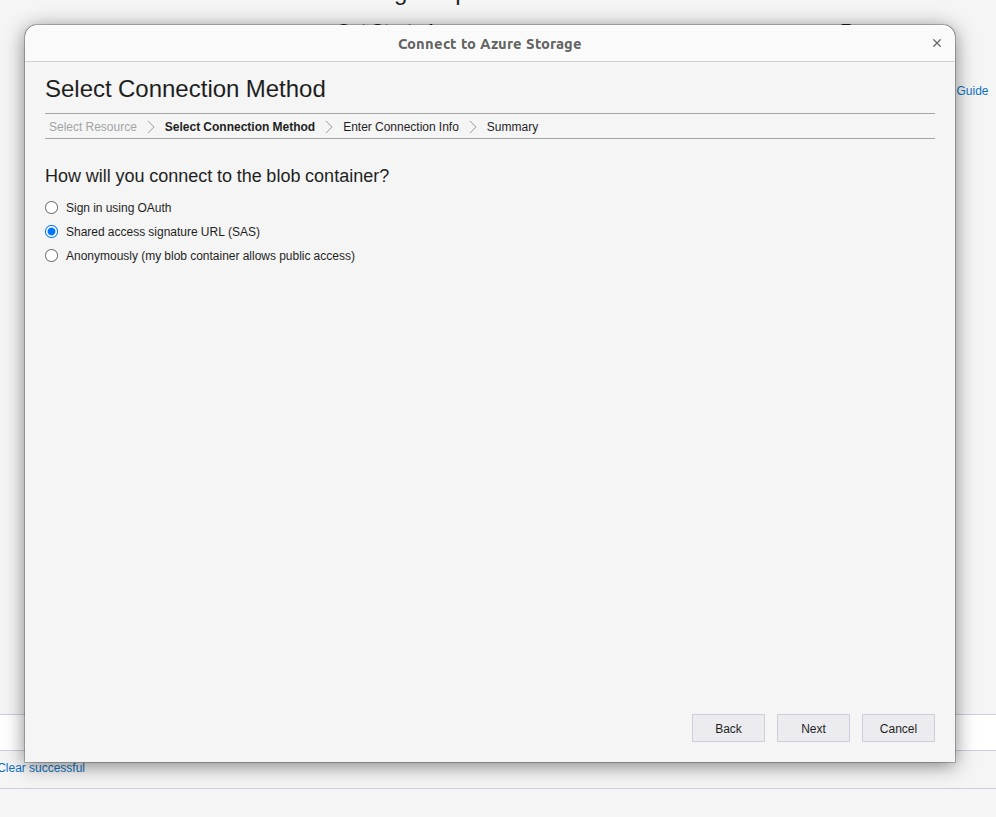
Then choose Shared access signature URL (SAS) and click Next.
In the Blob container or directory SAS URL field, paste the link you copied from our email:
- Windows —
Ctrl + V - macOS —
Cmd + V
Optionally, provide a friendly Display name so it’s easy to recognise (e.g. Alex Upload — Ulceration TS).
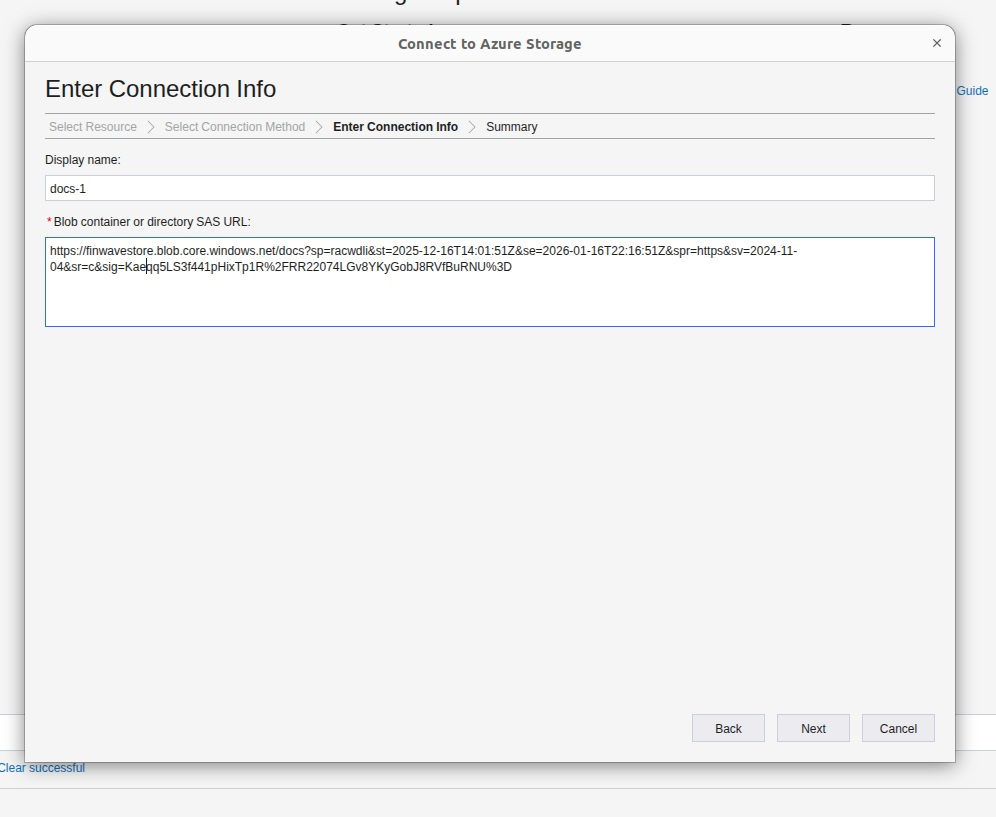
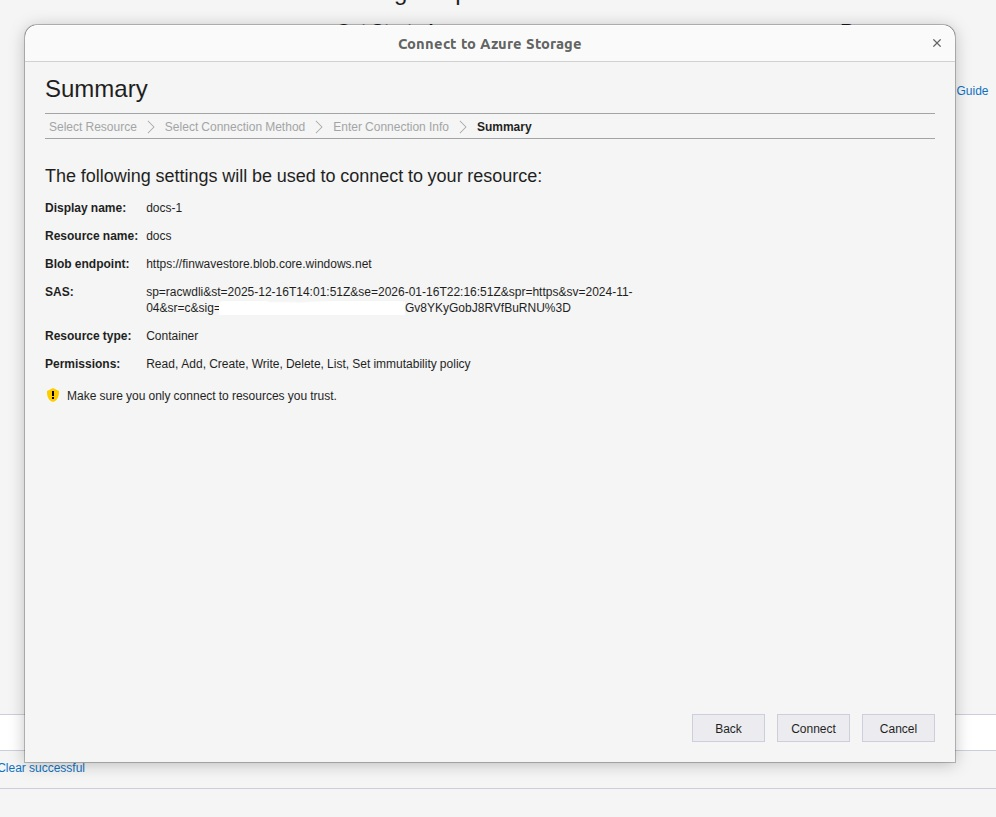
Click Next, review the summary, then click Connect.
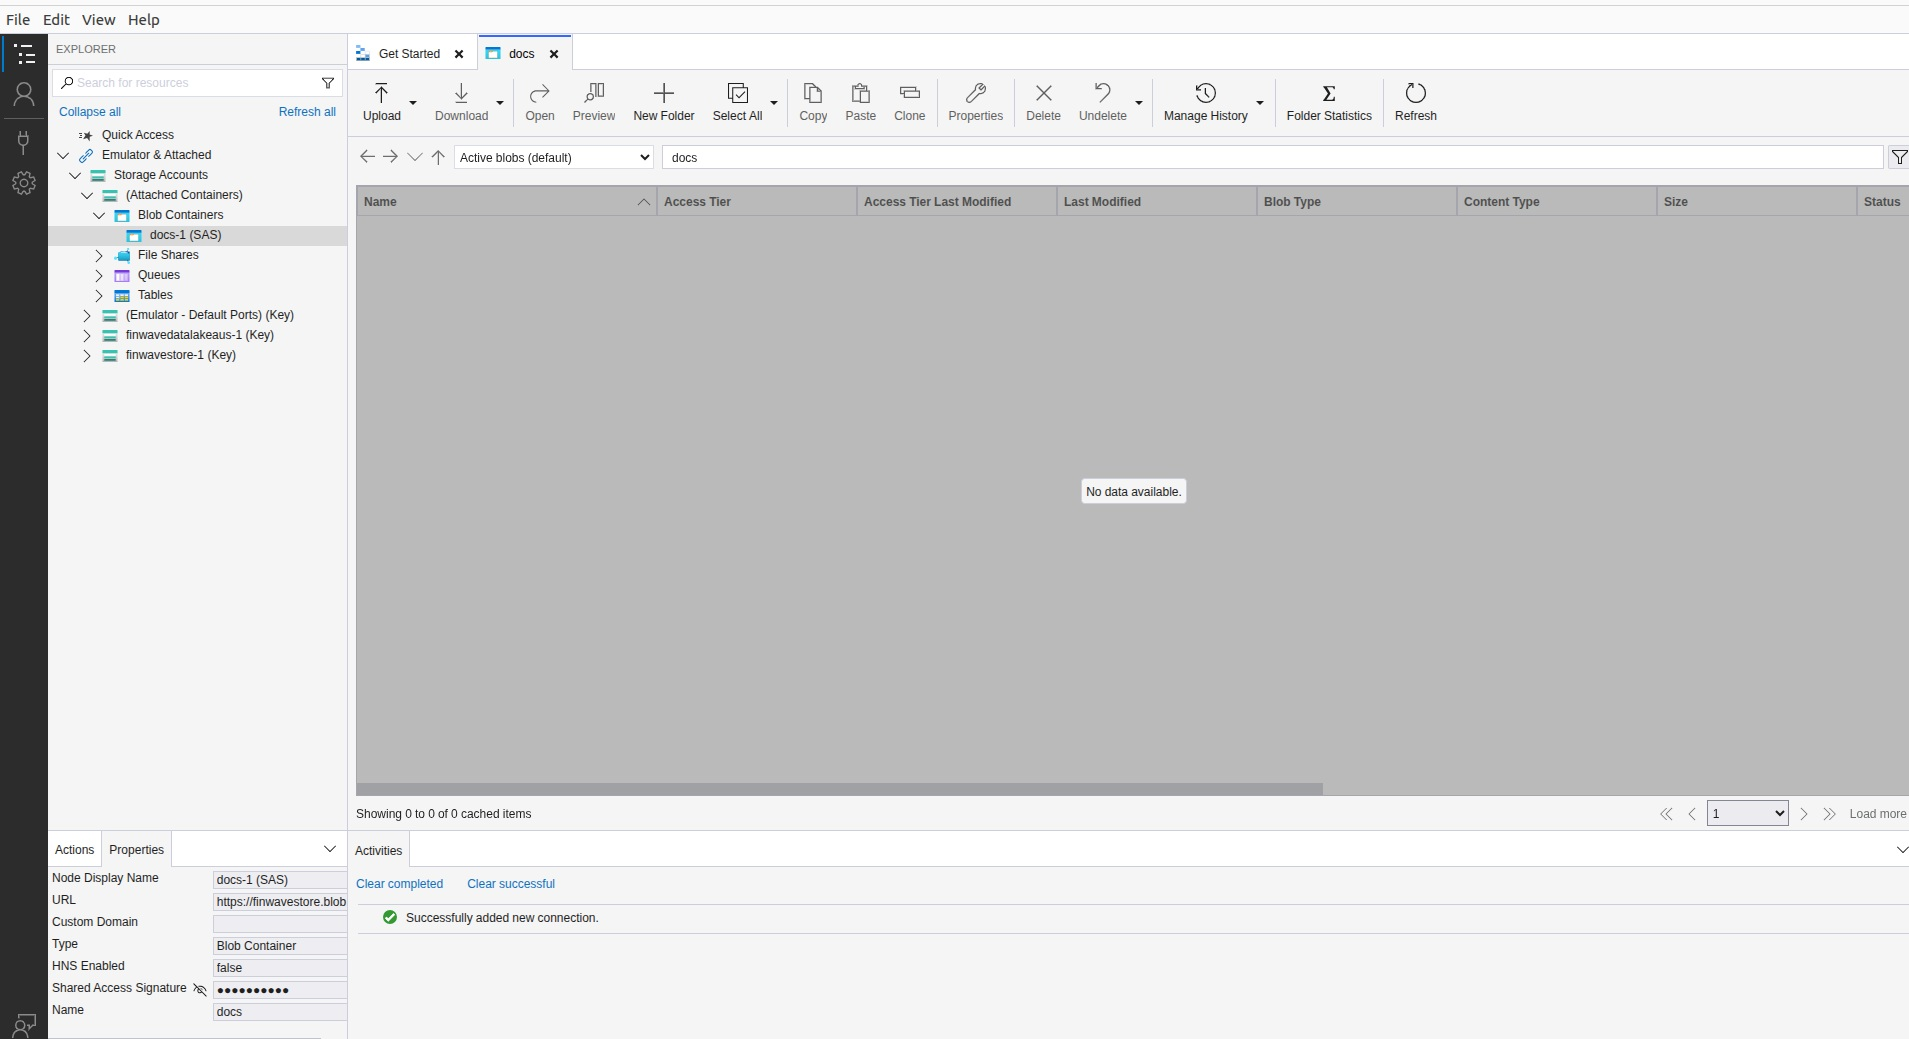
If everything is correct, you’ll see a new entry on the left under Local & Attached → SAS-Attached Services → [your display name]. Inside that, you should see Blob Containers → [container name].
6. Open the container
Section titled “6. Open the container”- In the left-hand panel, expand your newly added connection if it’s collapsed.
- Click on the blob container name (the one we gave you).
- The right-hand side will now show the contents of that container — it may be empty at first.
7. Upload your files
Section titled “7. Upload your files”You can upload files via drag-and-drop or using the Upload button.
Drag and drop (usually easiest)
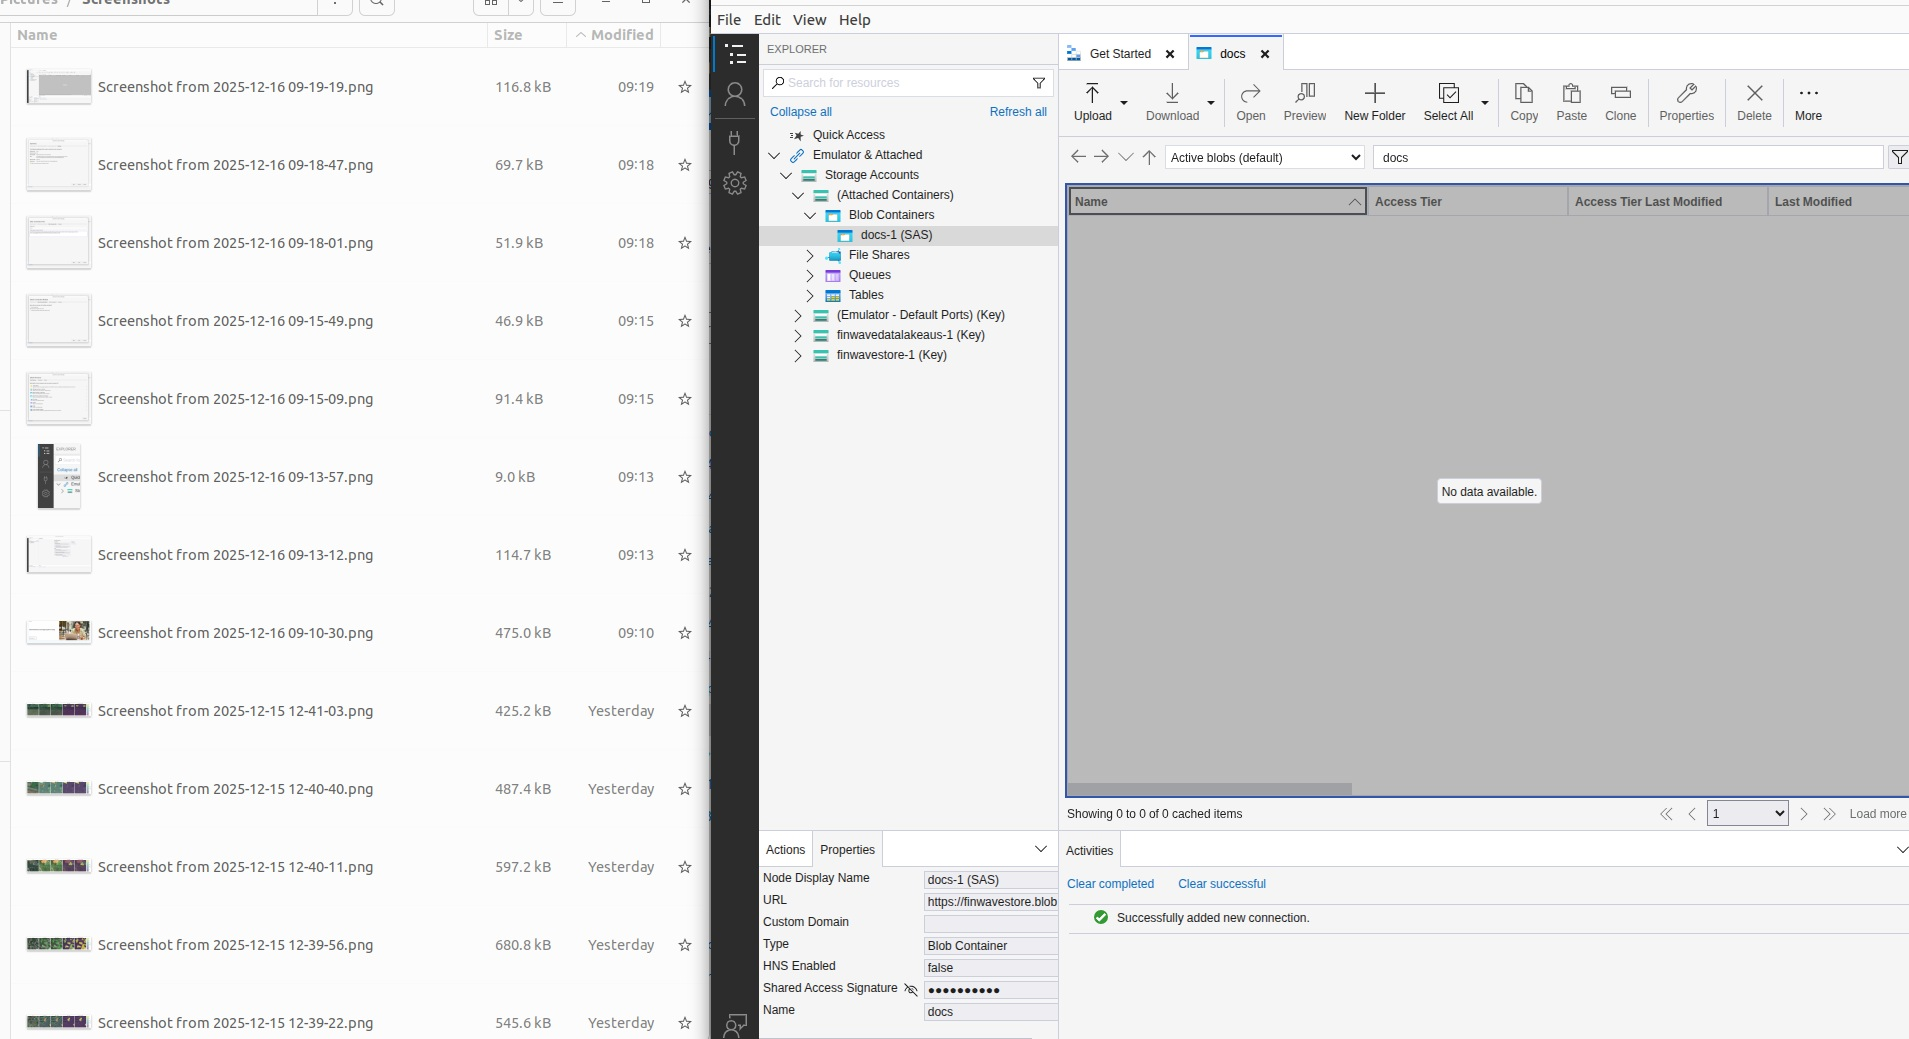
Section titled “Drag and drop (usually easiest)”- Open the folder on your computer where your files are stored (e.g. Windows Explorer / Finder).
- Position that folder window and Azure Storage Explorer so you can see both.
- In your file/folder window, select all the files and/or folders you want to upload.
- Drag the selection into the main pane of Azure Storage Explorer (where you see the container contents).
- Release the mouse button to drop them.
An Upload dialog will appear showing progress for each file. Wait until the status shows Completed for all items.

Using the Upload button
Section titled “Using the Upload button”With the container selected in the left panel, look at the toolbar at the top of the right-hand pane.
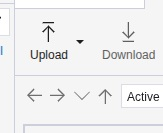
- Click Upload.
- Choose one of:
-
Upload Files… — to upload one or more individual files.

-
Upload Folder… — to upload an entire folder and its structure.

-
- In the dialog, click Browse, select the file(s) or folder on your computer, click Open, then click Upload to start.
- Watch the Upload dialog until all files show Completed.
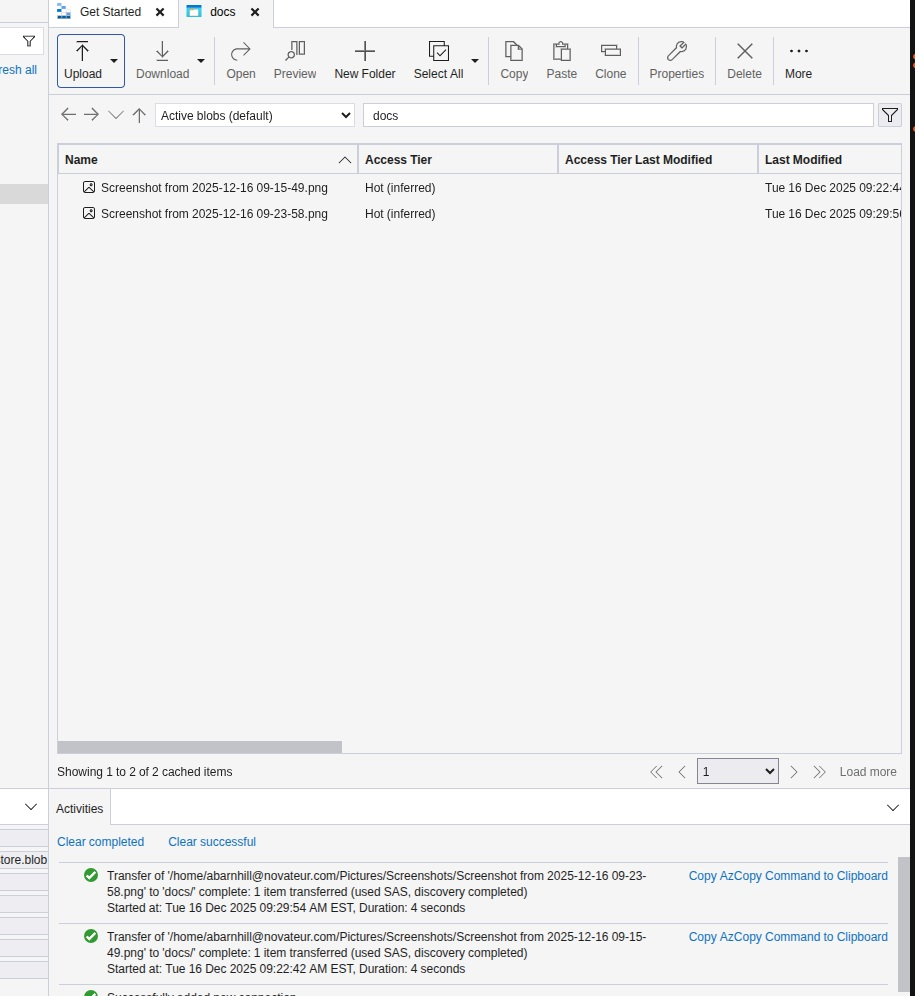
8. Confirm the upload
Section titled “8. Confirm the upload”After the upload completes, in Azure Storage Explorer you should see your files listed in the container. Each row shows Name, Last Modified, Size, etc. You can click the column headers (e.g. Last Modified) to sort, so the most recent uploads appear at the top.
9. Let us know you’re done
Section titled “9. Let us know you’re done”Once your files are uploaded, send us a quick email to confirm, including:
- That you’ve finished uploading.
- Approximately how many files you uploaded.
- Any notes (e.g. “Ulceration TS severity ratings for years X–Y”).
That’s it — once the files are visible in Azure Storage Explorer, we can access them on our side and start processing.
Quick summary (for reference)
Section titled “Quick summary (for reference)”- Install Azure Storage Explorer from Microsoft’s website.
- Open Azure Storage Explorer and ignore any Azure sign-in prompts.
- Click the plug / Connect icon → choose Blob container → Use SAS URI.
- Paste the SAS URL we sent you and connect.
- Select the blob container and drag-and-drop your files into the main pane (or use Upload → Upload Files / Folder).
- Wait until all uploads are complete and files appear in the list.
- Email us to confirm you’re done.