Initial Setup
In this guide you will learn:
- How to authenticate with your finwave credentials
- How to select and bind your organization
- How to choose which populations the client manages
- What happens after setup is complete
Overview
Section titled “Overview”The first time you launch FinLaunch, the client walks you through a five-step setup flow. This process binds the client to your organization and determines which populations it will work with. The entire flow takes about two minutes.
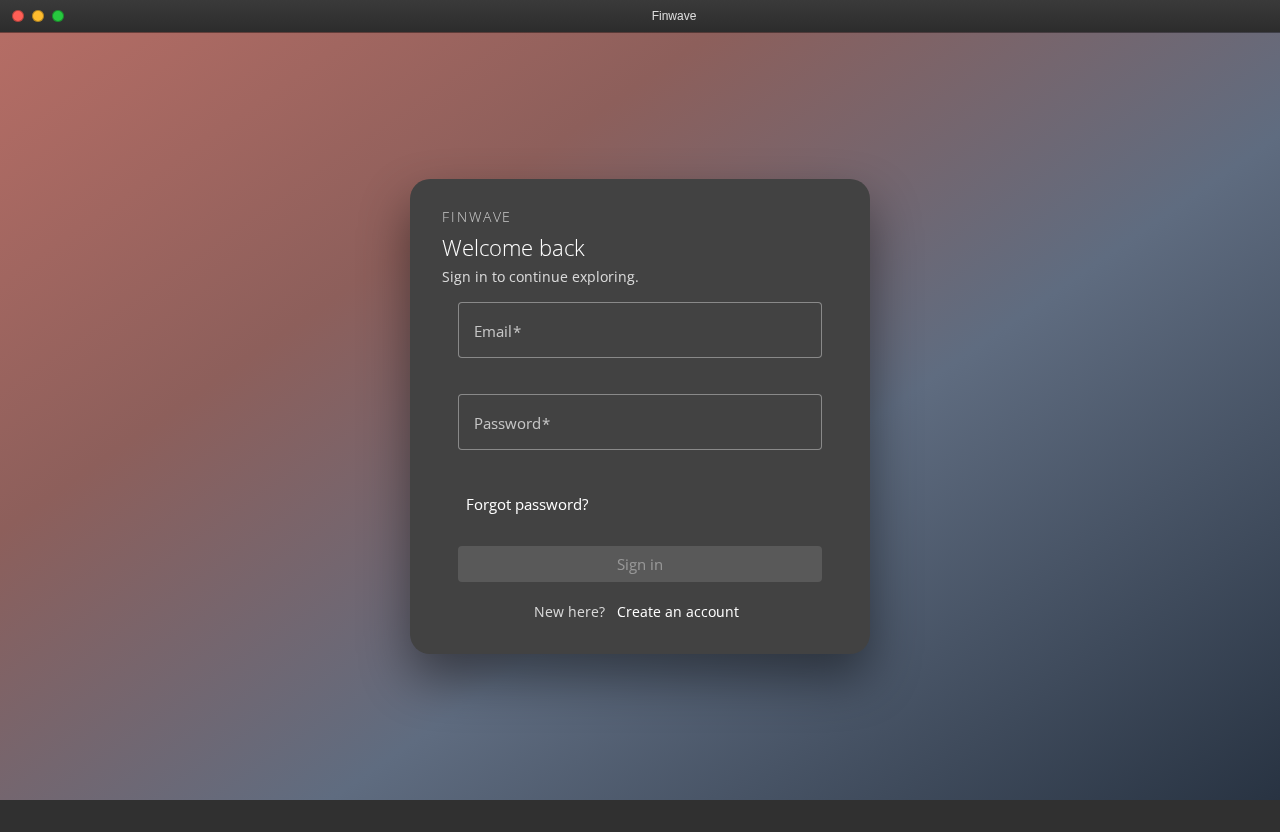
Step 1: Authenticate
Section titled “Step 1: Authenticate”You are prompted to log in with your finwave email and password. Sign in with the account you normally use to access finwave.
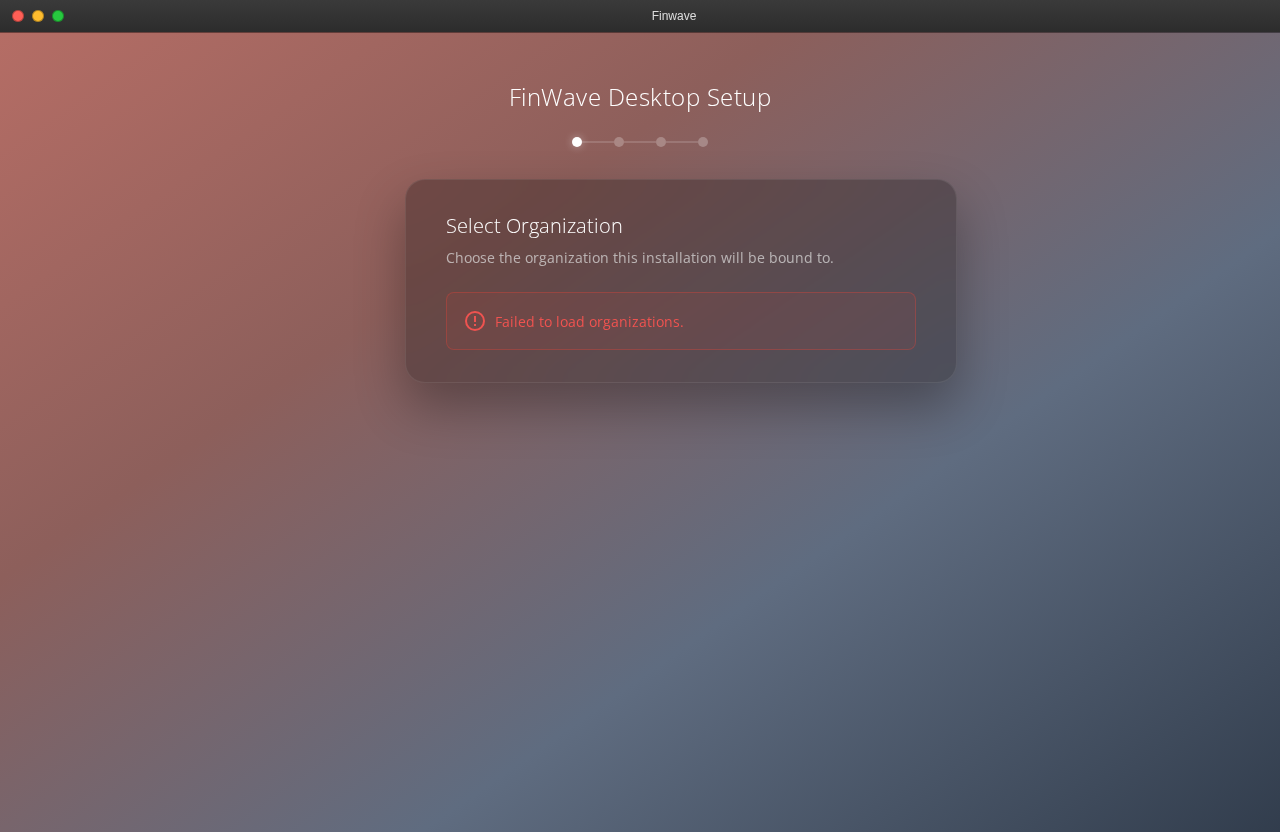
Step 2: Select your organization
Section titled “Step 2: Select your organization”After authentication, you see a list of organizations your account belongs to. Select the organization this installation will serve.
If your account belongs to only one organization, it is selected automatically and you proceed to the next step.
Step 3: Confirm binding
Section titled “Step 3: Confirm binding”A confirmation screen shows the organization you selected and explains what binding means:
This FinLaunch installation will be configured for Center for Whale Research. All data, populations, and settings in this app will be scoped to this organization. Other users in your organization will use this same installation with their own credentials.
Read the confirmation carefully before proceeding.
Click Confirm to bind the client. Click Back to return to organization selection.
Step 4: Select populations
Section titled “Step 4: Select populations”After binding, you choose which of your organization’s populations this installation will manage. You can select one or more populations.
The populations you select determine which data the client discovers and manifests. You can add or remove populations later from Settings.
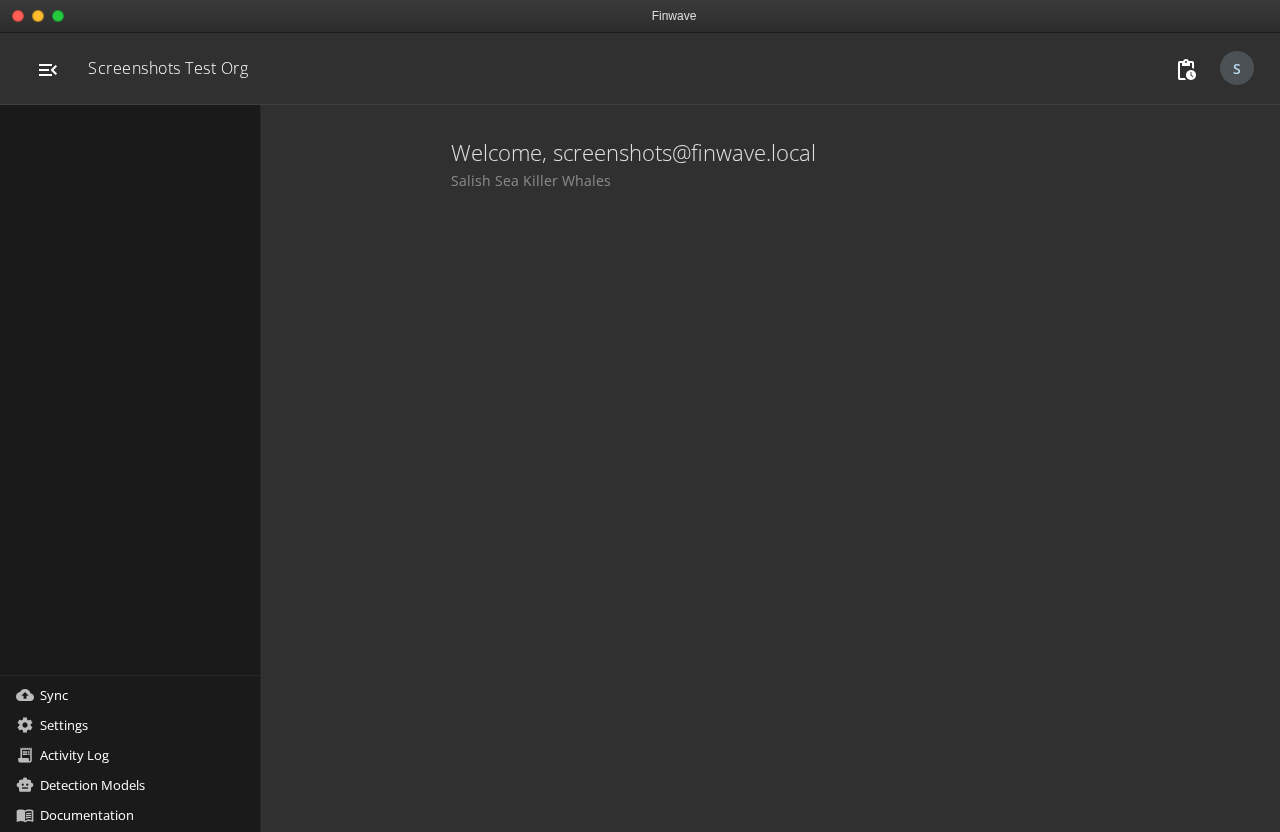
Step 5: Setup complete
Section titled “Step 5: Setup complete”The client is now bound to your organization. You will see:
- Your organization’s name and logo in the title bar and navigation header
- A summary of the organization’s data (populations, image counts, encounter counts)
- The main interface, ready for you to begin Discovery
What happens after setup
Section titled “What happens after setup”The organization binding persists across sessions and across users. When another member of your organization launches the client on this machine, they will:
- See the login screen (the client is already bound — no org selection)
- Authenticate with their own finwave credentials
- Access the organization’s data according to their role and permissions
User sessions are independent. Logging out does not affect the organization binding or any organization-level settings like watched directories or manifests.
Organization-level vs. user-level settings
Section titled “Organization-level vs. user-level settings”After setup, two categories of settings exist:
Organization-level (persist across users, set by org admins):
- Organization binding and population selection
- Watched directories and manifests
- API endpoint and data directory location
User-level (per-user, set by each individual):
- Authentication credentials (stored in your OS keychain)
- Notification preferences
- UI preferences (theme, layout)
When a new user logs in for the first time, they inherit the organization-level settings and can configure their personal preferences.
Resetting the organization binding
Section titled “Resetting the organization binding”If the client needs to be re-bound to a different organization (for example, when a machine is reassigned):
- A user with organization admin permissions opens Settings and initiates a reset.
- A confirmation dialog warns that all organization data, manifests, and scan history will be removed from this installation. Source files are not affected.
- On confirmation, the client wipes its local database and returns to the first-launch flow.
- The reset is logged as the final entry in the audit log before the data is cleared.
Related
Section titled “Related”- What Is the Desktop Client? — purpose and design overview
- Installation — system requirements and install steps
- Discovery — start scanning your directories
- For IT Teams — deployment and security details